if Linux != Windows, Learn to be Self-Sufficient
written for Task 0 of the Amfoss Tasks
As soon as I saw the 0th Amfoss task, I set out to find out the best Linux distro for beginners. Although the recommended distro in the task intructions was Ubuntu, through a bit of research, I discovered some of the cons of the widely used, beginner-friendly distro - the Software Center on Ubuntu took a lot of time to load and hogged up a lot of system resources; also, the fact that Ubuntu tries to default to the snap package management system, which is shunned by most Linux power-users, made me drift away from the distro - if I were going to use Linux, I was going to do it right (absolutely no offense to the Ubuntu power-users out there - this is just my opinion).
After a bit of reading about all the different distros out there (there are so many!) for absolute beginners, I noticed that two of the names kept repeating - both of them being the top two in the most used distros according to DistroWatch.com. One was of course the all time favourite Ubuntu, while the other was a distro I was hearing for the first time - Linux Mint. A little bit of digging revealed that the Cinnamon desktop was lighter and faster compared to GNOME and it used the apt package management system. Also, being based on Ubuntu itself, I figured that it would not be as different from Ubuntu and would be easy to troubleshoot.
Downloading the ISO
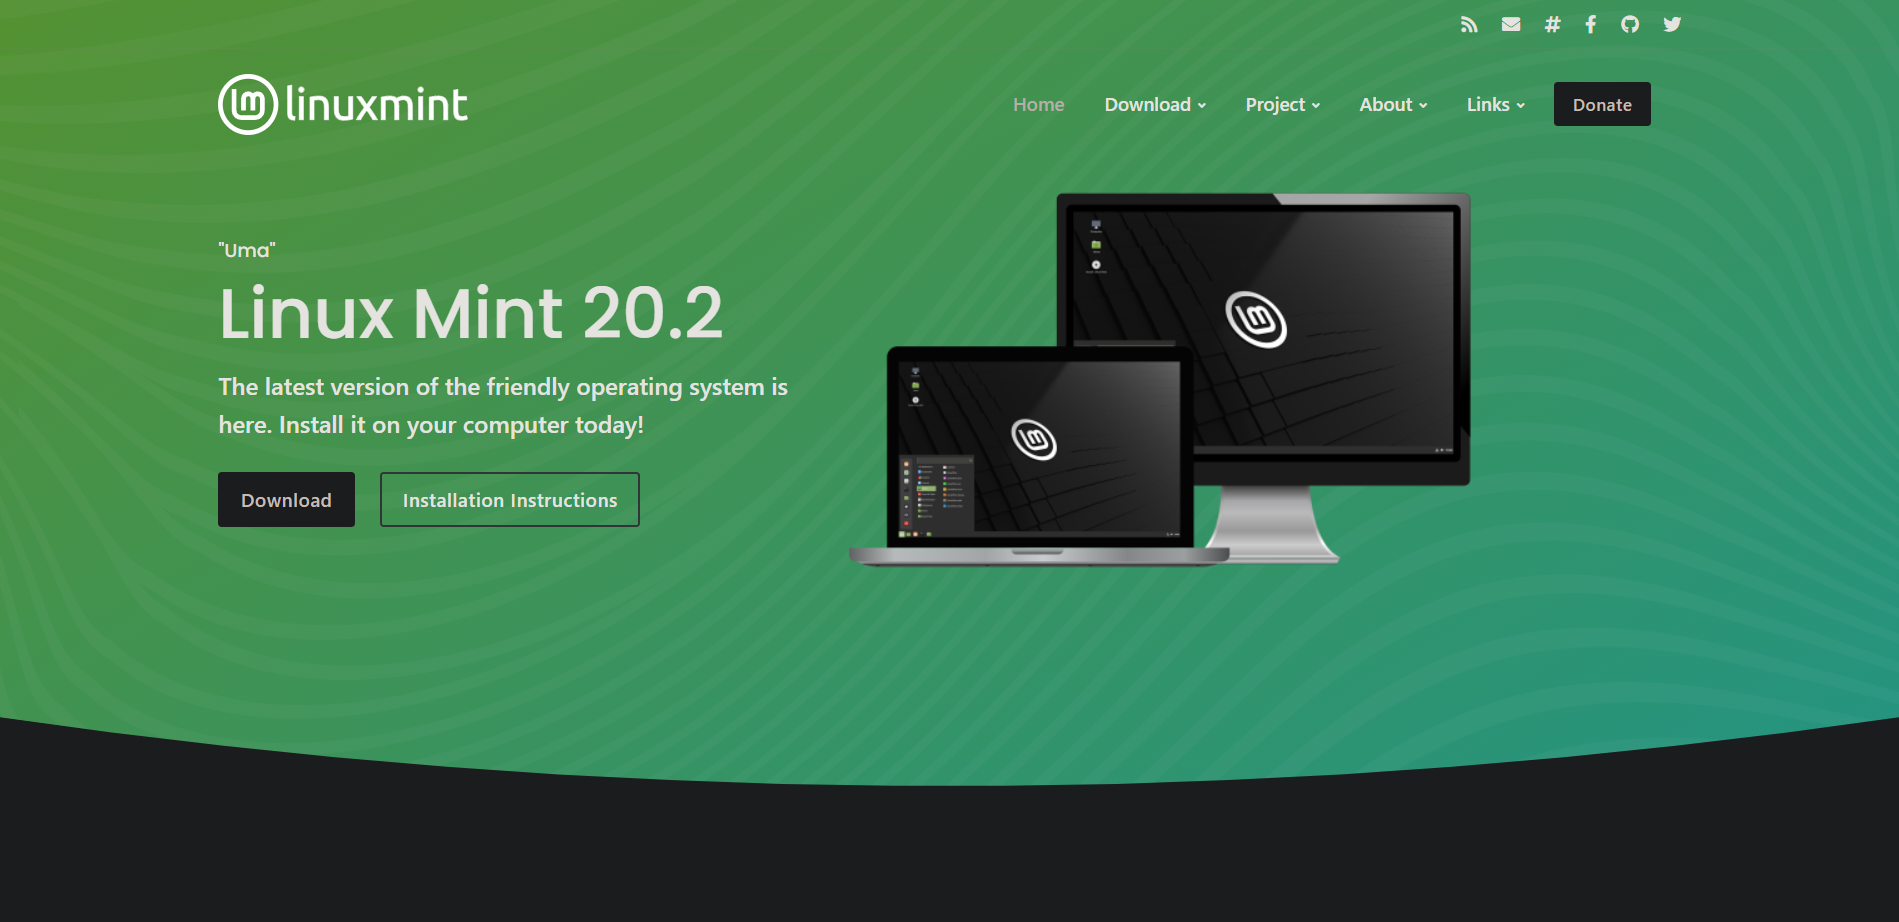
Downloading the ISO file of any Linux distro is relatively easy, one just goes to the website of the respective distro and finds a “Download” tab or something related to that and downloads the file with the click of a button. So in my case, I went to linuxmint.com and went to the Download section and downloaded the latest Cinnamon flavour of the OS.
Burning the ISO
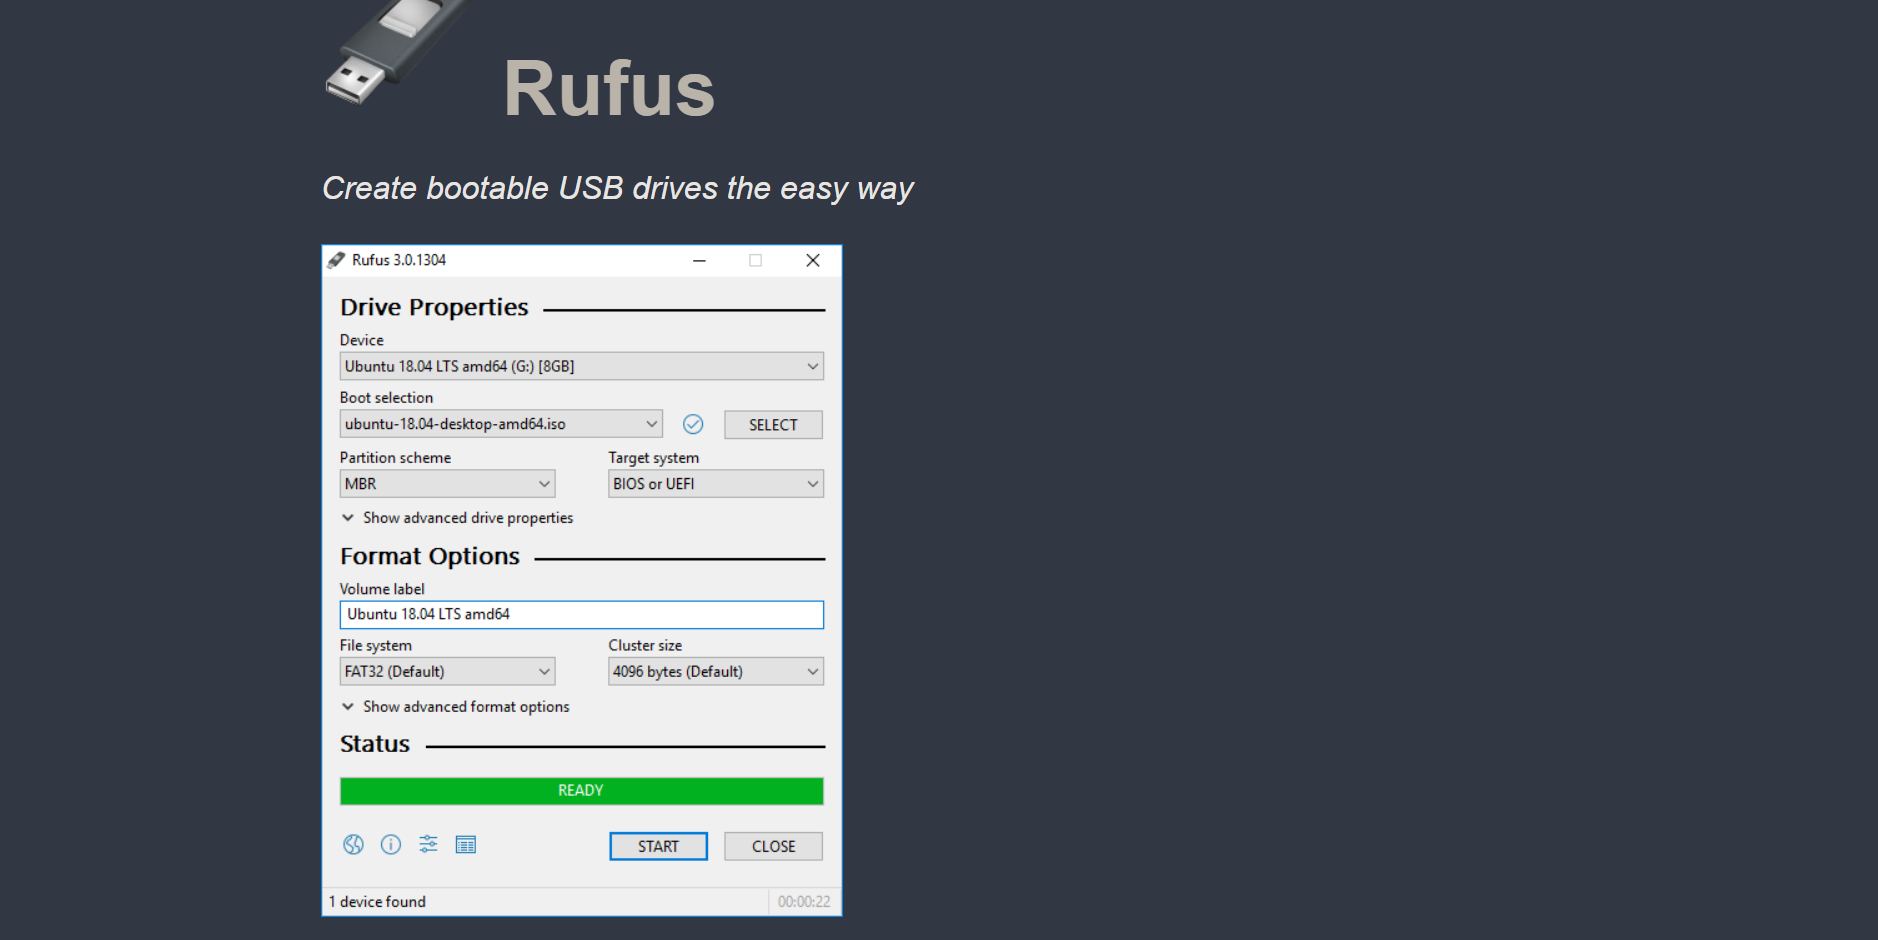
An ISO file is a single file which is a perfect representation of an entire CD (as CDs used to be made use of to install softwares and OS’s). Therefore we will need to mount this ISO image file onto a tangible hard drive - this process is called “burning”. There are various tools used for burning, but I used a nifty little tool called Rufus to burn my Linux Mint ISO file onto a pendrive.
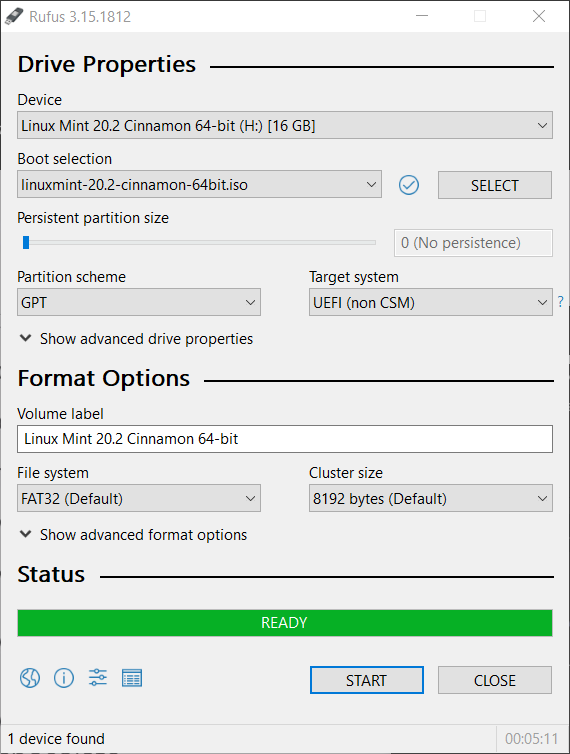
When burning an ISO file for an OS installation, one must always keep in mind the partition scheme used in our devices - MBR and GUID. After setting the optimal options in the Rufus tool, click “Start” and wait till the ISO file is burned onto the pendrive/CD/any hardware of your choice.
Installation Process
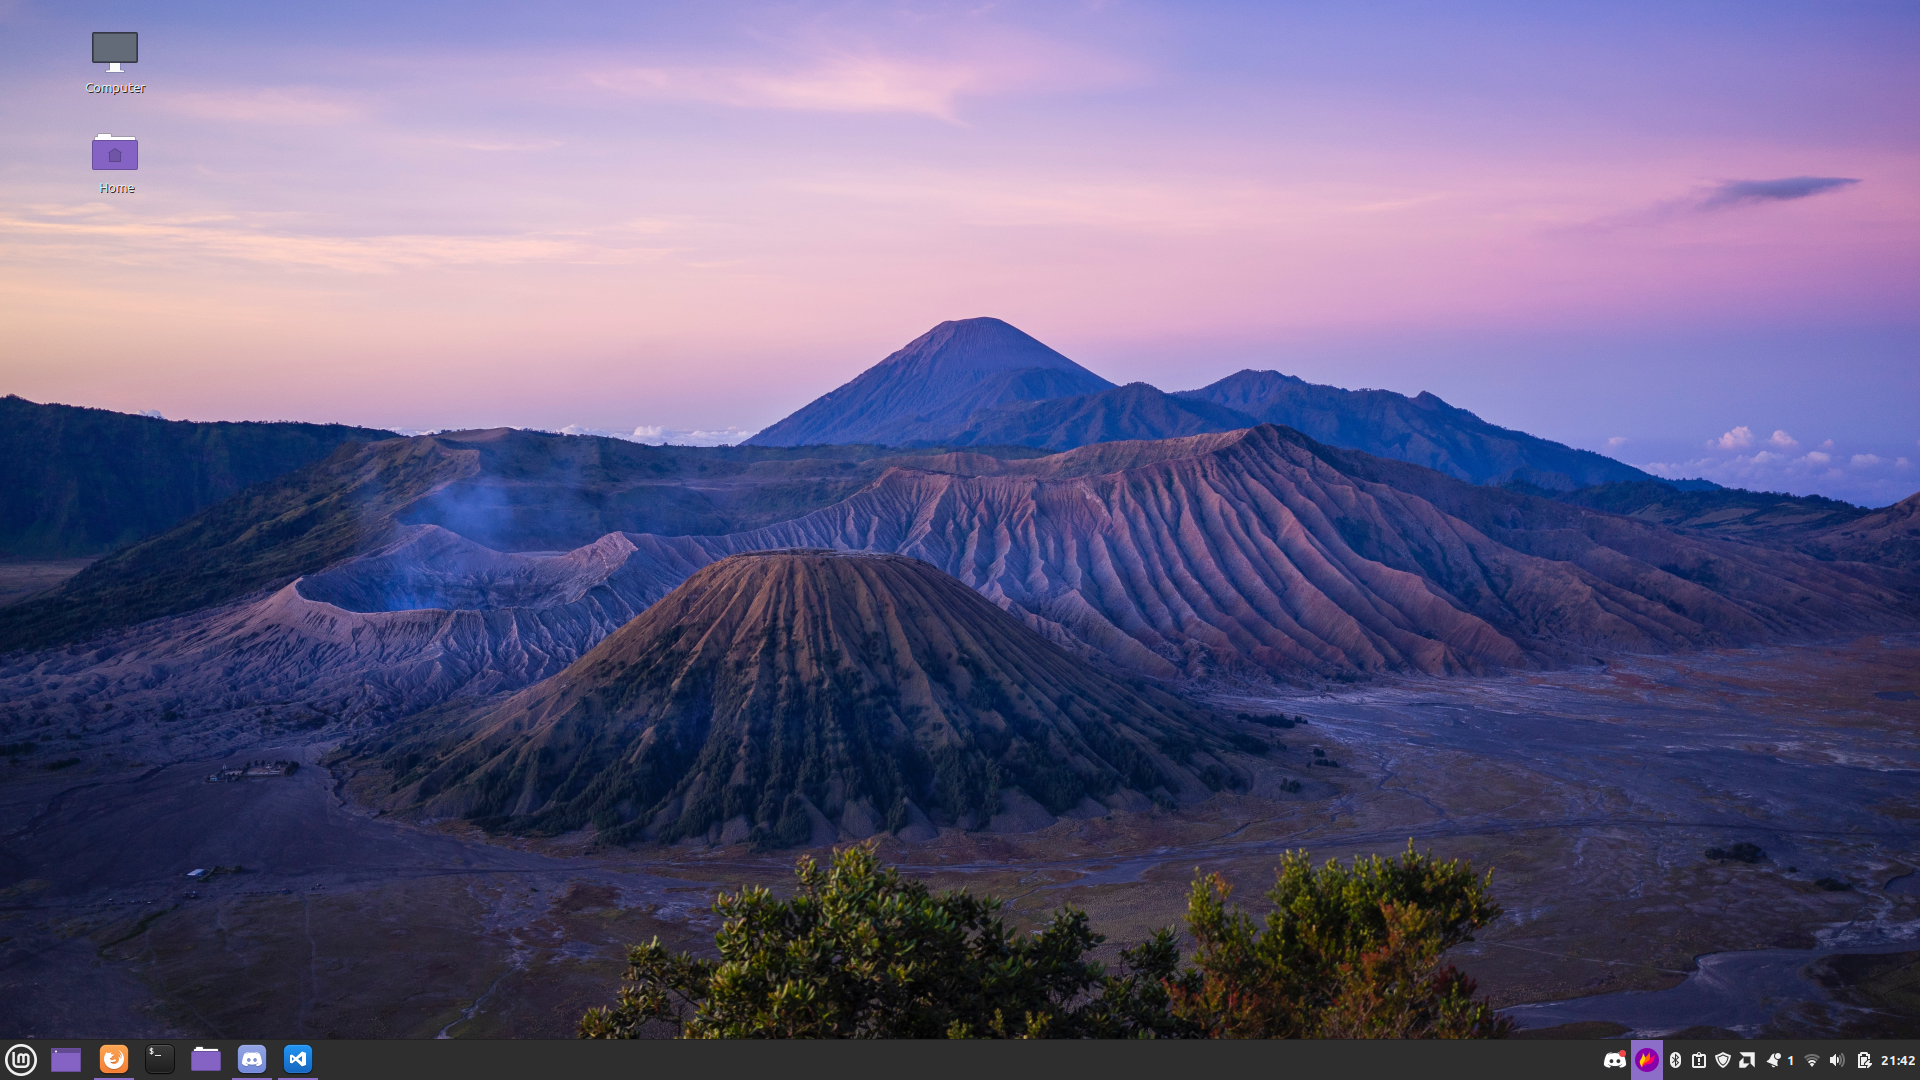
Before the installation, make sure to go into the UEFI settings to change the boot order to force the device to boot from an external hard drive. Having done this, I proceeded to plug in the USB I burnt the Linux Mint ISO onto, and powered on my laptop. Linux Mint has an almost identical installation process as Ubuntu as the former is based on the latter. Just following the process in itself is easy enough, just be careful with the partition assignment - assign a decent amount of space for Linux (I gave around 128 gigs of HDD storage). After booting into Linux for the first time, I did a little bit of customisation and then proceeded to update and upgrade any necessary files.
Just be aware that updating is not the same as in Windows. Although you can use the System Monitor application to update the files just like in Windows, it’s always better to use the terminal to do each tasks (a precise internet search is your best friend in finding the right commands).
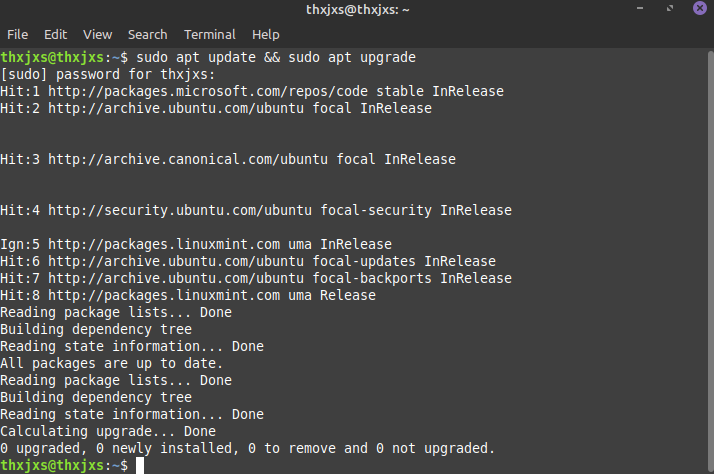
Although I did face small issues with the installing the graphics drivers (I installed the nouveau driver instead of the NVidia proprietary driver facepalms), I quickly found out why the whole GUI was buggy and was able to fix the issue.
End Result
I have to say that this was indeed a real learning experience. Dual Booting a different OS taught me:
- about different partition schemes - MBR and GUID
- UEFI Boot Order
- the various Linux distros and their flavours
- how to troubleshoot problems
Hopefully this (blog?) entry makes it easier for someone else to Dual Boot for the first time and not have to walk into as many walls as I did. Cheers!
